Thursday, 22 October 2015

Owltumn wreath

Hello everyone!!!
Long time no post:) Autumn is here and I am pretty sure everybody likes autumn for its bright colors, cozy sweaters and warm blankets with a cup of hot chocolate. Today I would like to show you how I made my Owltumn Wreath (soon you will find out why its "OWL"-autumn). Use your imagination on what colors and materials you use, the final result worth all time you spent for making it. 
All you need is: crepe paper, a cardboard/Styrofoam sheet/wire or anything else you can use as a skeleton for your wreath (the shape can be round, square or heart shape), decorative yarn, sellotape, scissors, thread, glue and some felt owls and leaves.

P.S. Here you can find my other 2 tutorials for making Halloween Wreath and Warm summer wreath.


Start with your wreath skeleton, make it's shape. I preferred to do the classic round shape again, I used an old paper lamp base for it


then I wrapped it in foil to add some volume 


afterwards I wrapped it into crepe/tissue paper, added a diy rowan tree branch 


made some leaves for rowan branch 


then added some Owls for more owlsomeness!!!


there is no wreath without a bow! to spice it up add some more autumn leaves


add more and more leaves and decorations


and your Owltumn wreath is ready steady!


Saturday, 30 May 2015

Dream Travel Map

Hello everyone!!!

Today I will show you how to create your Dream Travel Map. Always wanted one so I can put pins to every place I was. 
Travelling is something I would do every day, every season, every year, all my life. I am pretty sure most of you have the same feelings. I can't say I travelled much, but I can say that I will.
So I started with Europe.

P.S. “The world is a book, and those who do not travel read only one page.” Saint Augustine.

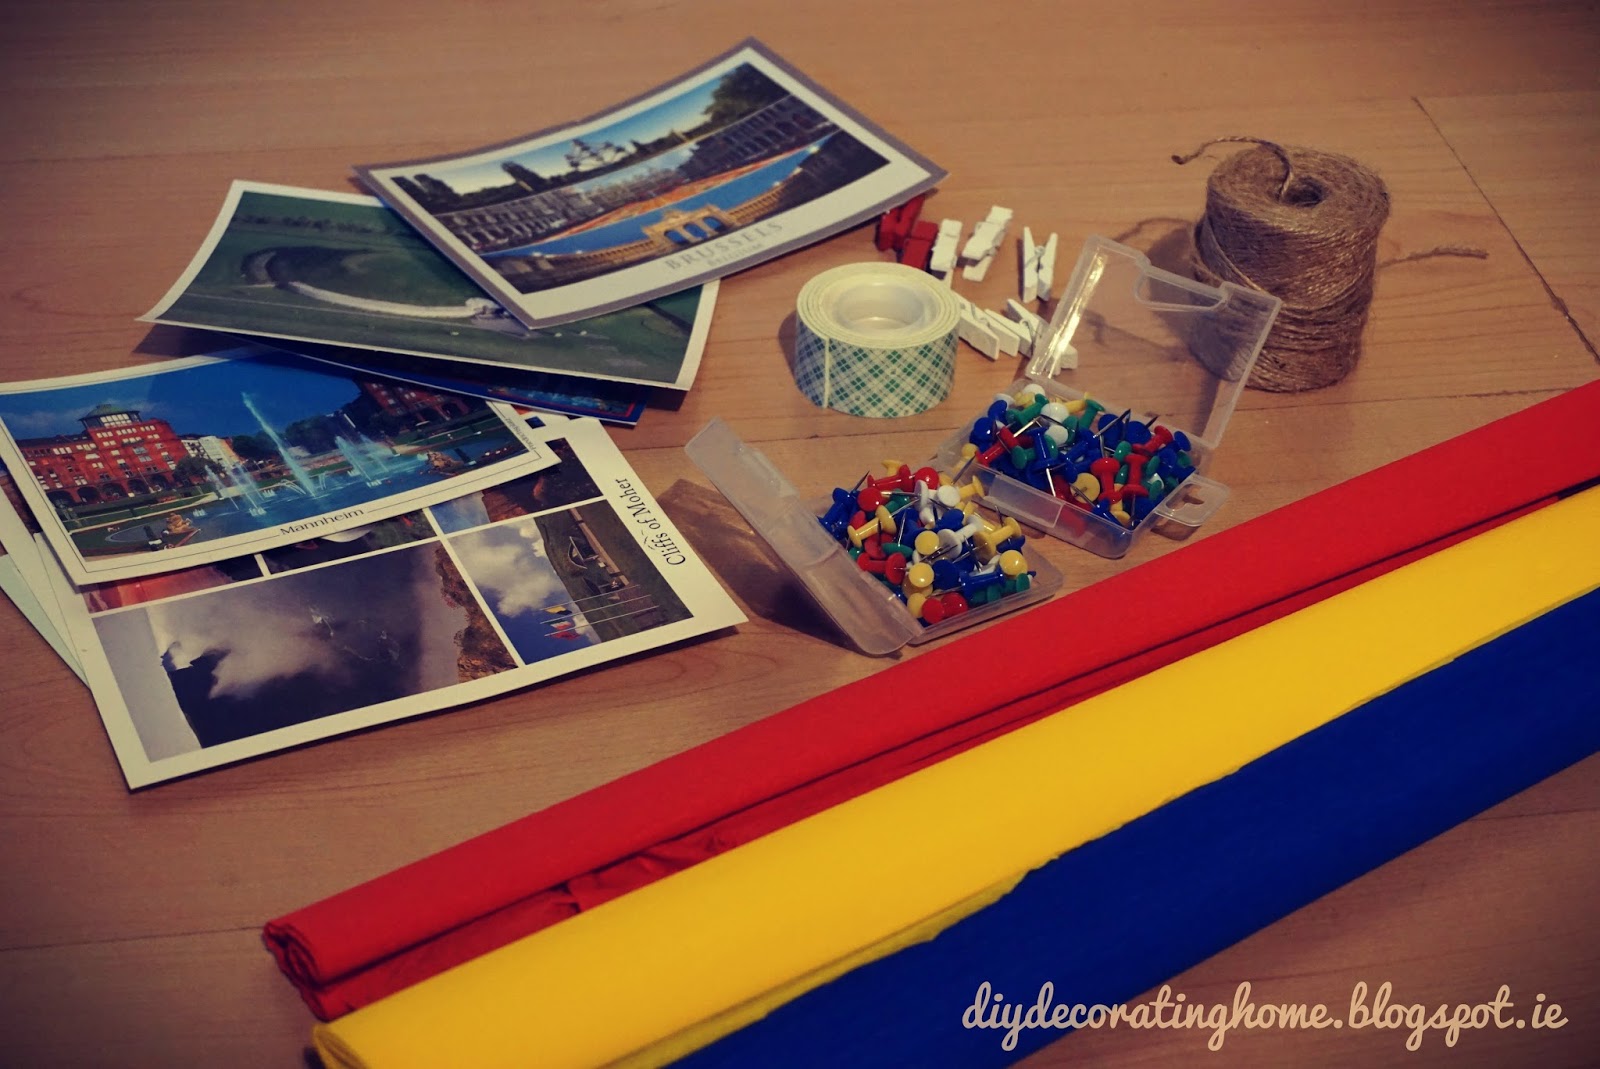
Supplies are: a map of Europe, pins of different colours, craft papers, crepe paper, small crafts pegs,  polystyrene board, greeting cards from cities you visited.


Start with polystyrene board or anything you can use as a map underlayer.


Glue your map on polystyrene board.


Hang your ready map on the wall. To decorate it, add some of your adventure cards on a decorative rope using pegs.


Make your countries small flags to add some more significance to your pins. Never forget where are you coming from.


Fill your map with colourful pins.


Give your map a name.


Give to your map a Legend.


Put them all together and here you go! Your Travel Map is ready!!!

Saturday, 27 December 2014

24 greeting cards for X-mas and New Year

Hello everyone!!!
Christmas is away, but there is one more holiday to face, New Year! Today I will show you my 24 handmade greeting cards for Christmas and New Year. For making them, I used different kind of supplies like: craft paper, gift tags, wrapping paper, ribbons, baubles, gemstones, coloured paper, 3-d stickers, straw Christmas decorations, wooden Christmas decorations and many many other things I found at home. Other additional supplies are: scissors and lots of glue.
They are so easy to make and you are so happy with the results. A nice handmade card is a nice smile on your friends face.


P.S. New Year is the time to unfold new horizons & realize new dreams,
        to rediscover the strength & faith within you,
        to rejoice in simple pleasures
        gear up for a new challenges.
       Wishing you a truly fulfilling 2015!


Thursday, 25 December 2014

Decorating your home for Christmas

Hello everyone and Merry Christmas!!!

May the gloss of Christmas fill the hearts of your and your loved ones all year long.
Now I will show you a few steps how to easily decorate your house for Christmas. Some of the decorations are handmade some are nice combinations of handmade and ready ones, so if you don't have time to spend for creating your pieces of art, then just go shopping:)

1. Step
To get into the spirit put on some nice Christmas music like this:


2. Step
To welcome your guests, put on some nice wreaths on your door. This year I chose a ready one, silver star shaped.


3. Step
Don't forget about bringing to your house the smell of holidays, so add as many candles as possible to your room/house, make some nice combinations of baubles, candles and garlands. I used empty boxes of Ferrero Rocher chocolates that I filled with baubles, tea lights, rainbow candles and beads and here you go a nice candle holder.


4. Step
Don't forget about one of the important Christmas decorations, a stocking filled with chocolates, candies and cookies.


5. Step
Finalize your Christmas decorating with a nice Christmas tree.


Merry Christmas and Happy New Year to Everyone!
XO XO XO